The airborne lunge is an incredible drill that most people either skip over never even learn. Let’s change that!
Mastering this exercise will increase your single leg strength, enhance coordination, and improve rotary stability and mobility simultaneously. It takes some time to learn how to properly perform an airborne lunge, but the benefits of this exercise are worth it! Put in the time and learn to airborne lunge properly.
Airborne Lunge Tutorial Video
1. Set up properly for for the airborne lunge.
The biggest mistake people make is in the setup!
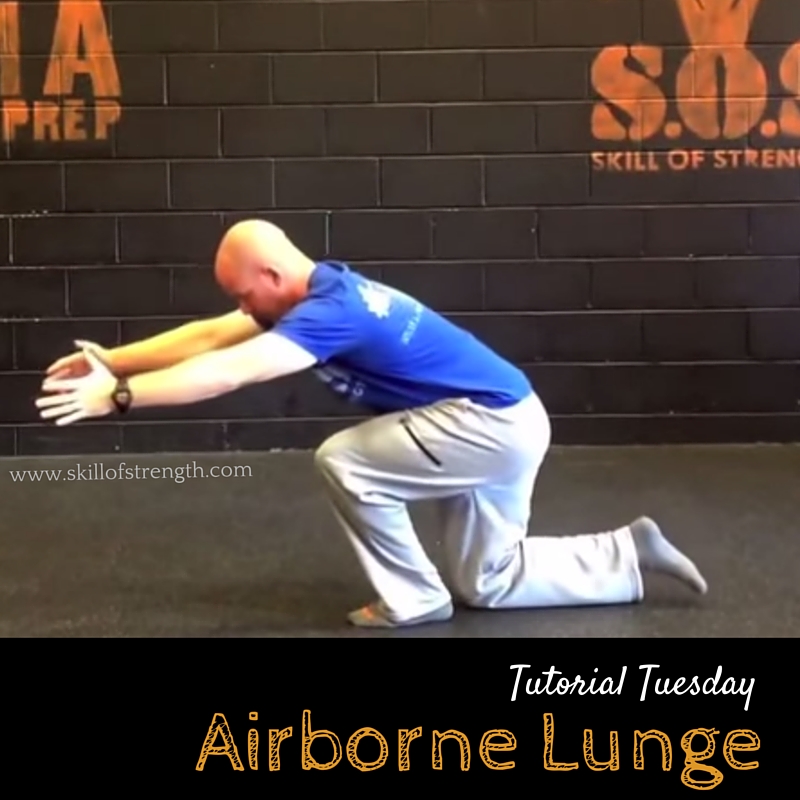
- Start in the half kneel position and immediately slide your front heel backwards so your knee is directly over your 4th and 5th toe.
- Make sure that your whole foot is pressed into the ground for the duration of the drill. Note: You will need decent ankle dorsiflexion to do this properly.
2. Hinge at your hips and begin to lunge.
- Once you nail the start position, hinge at the hips and put 80-90% of your weight into your front leg.
- Make sure your torso is folded over, your front hip is shifted back and your knee is slightly in front of your 4th and 5th toe.
- Start in a slight tibial varus to get the hip musculature firing correctly. Driving the knee out slightly helps recruit the glutes and prevents a valgus collapse (knee shifting inward) in the knee.
- Tighten your abs up…VERY tight.
3. Return to vertical.
- Drive up in a controlled fashion until you are vertical and standing upright
- Slightly bend your front knee, then hip hinge back down and retrace into the same groove you came up in.
- Try to do this is a slow and controlled fashion and own every part of your range of motion!
Try the Airborne Lunge
- Start with 2-3 reps at a time and focus on quality, not quantity.
- A great goal is to work up to 4 sets of 10 reps per leg!
As always, train hard and train smart!